Final Project Post: ROETE

Radio Outdoor Emergency Transmitter Electronic

Natalie Tack

One sentence that describes my project: A device that transmits location via radio when activated by the user in an emergency.

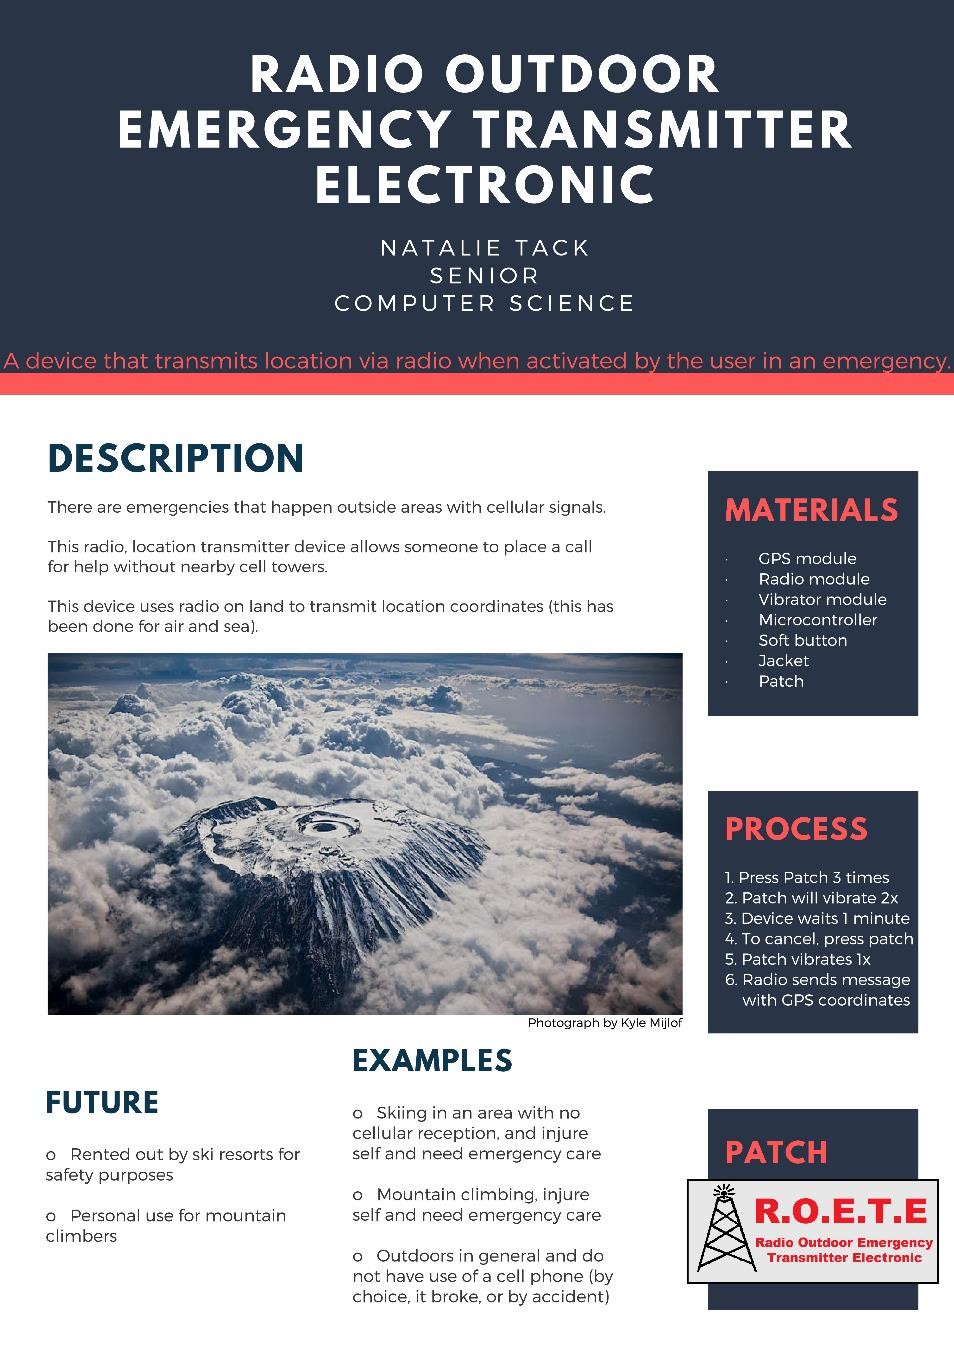
Image of Poster:
Video:

What the project does and how it works:

My project is a Radio Outdoor Emergency Transmitter. It transmits a radio message that has a generic call for help with specific GPS coordinates when the user sends the transmission. The user sends the transmission by pressing the patch 3 times, then the device vibrates twice, then the device waits 1 minute (30 seconds for demo purposes), then vibrates once more, then sends the radio transmission. This radio transmission then repeats once per minute .

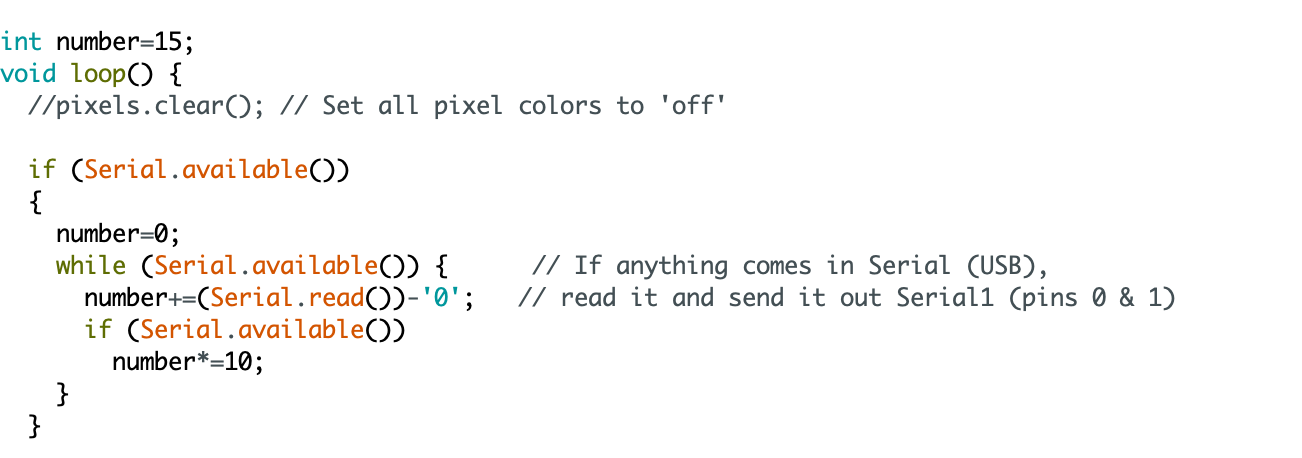
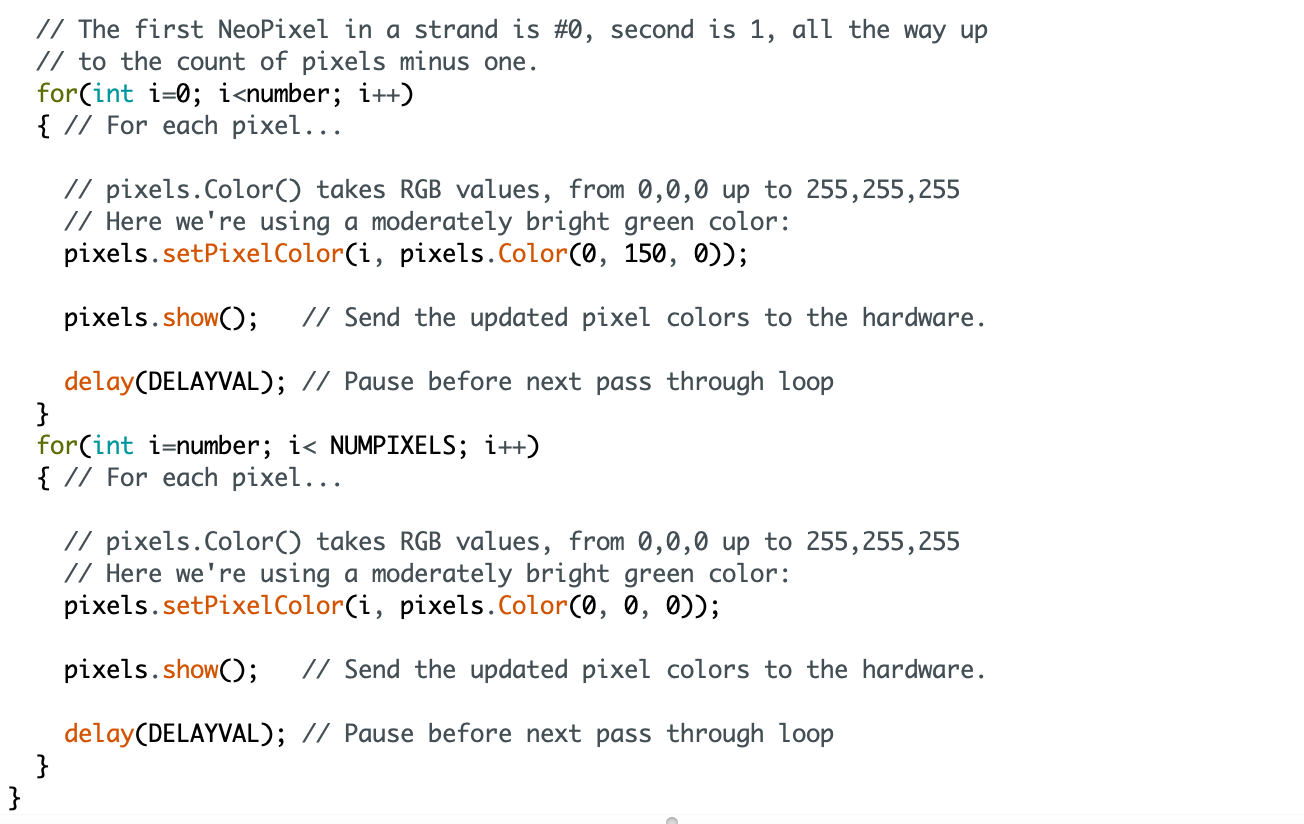
When the user presses the button three times, the vibrator is activated for 2 pulses and the GPS module is activated, then if there is no user input in the 1 minute time period, the radio module is activated and the generic message for help and specific GPS coordinates are sent (specifically over the 89.00 FM frequency).

Overall thoughts:

Overall, I am pleased with my project, I have always been interested in radio, so this project was really interesting for me to work on. The only thing I am really disappointed in is that I was not able to broadcast the radio waves very far (mostly because I was afraid of breaking some laws regarding how far one can transmit for recreational purposes) and also that I relied heavily on the radio module to transmit the messages.

Comparison to Original Project Description:

After establishing the original description for this project I would say that this project does what I initially sought out to do, when activated, a distress signal containing GPS coordinates is transmitted over the radio. However, this device is not practical if the distance between the radio transmitter and the receiver has to be close. I think the original goal was to have the radio transmitter and receiver far away from one another, so I guess in this respect my goal was not met (primarily due to the reason stated above).

Latest Hurdles:

The biggest challenge I encountered towards the end of the project was getting all of my connections to stay connected. I found that the single core wire I used (kinda as a last resort) worked the best for not pulling out of the soldering. In the video above it is the white wire with the red stripe on the side, I ended up replacing the most challenging connections (which were 3-4 connections as shown in the video).

If I had more time:

There is actually quite a lot I would do if I had more time, the first being replacing all of the connections with single core wire connections. The second being instead of pushing a button, having a slide on the front of the patch that pushes the battery into the device (this would help the battery to only be used when needed – not powering the circuit playground all the time). The second change I would do is to fix the issue of the soft button being very sensitive (pressing when it is not supposed to). The third thing I would do is to find a way to say the emergency message more clearly over the radio. The fourth thing I would do is figure out how to transmit the radio waves farther without infringing on the law (this is actually the fix I would focus the most on, because it’s an operational fix, the others are mostly design fixes).

Final Material List:

  1. FM Stereo Radio Transmitter
    1. Price: $20
    2. Quantity: 1
    3. Link: https://www.amazon.com/Adafruit-Stereo-Transmitter-RBDS-Breakout/dp/B00SK8ME4Y#
  2. GPS Module
    1. Price: $40
    2. Quantity: 1
    3. Link: https://www.adafruit.com/product/746
  3. Vibration Module
    1. Price: $6.95
    2. Quantity: 1
    3. Link: https://www.sparkfun.com/products/11008?_ga=2.218497438.624035456.1554576553-2048369341.1554576553
  4. Patch
    1. Price: $20
    2. Quantity: 1
    3. Link: http://eliteembroideryandscreenprinting.com/
  5. Transistor
    1. Price: $0.30
    2. Quantity: 1
    3. https://www.digikey.com/product-detail/en/on-semiconductor/PN2222ABU/PN2222AFS-ND/6534&?gclid=EAIaIQobChMIn9Kmo5G84QIV1LjACh2IEQZDEAQYAyABEgJoIfD_BwE

Project Post 7: Glow Jacket

Project Title: Light Up Jacket (“Glow Jacket”)

Project Team: Obasi, Jack

Weekly Accomplishment:

Obasi:

Worked on the sample jacket.

Search for materials and fabrics.

Design pattern for the jacket.

Jack:

Searched for ways to light.

Wrote basic code for Playground Express.

Purchased lights for the jacket. 

Found a way to light up the wires and circles. 

Combine lighting effect with Obasi’s material and produce cool effects.

Have NeoPixels light up in different ways

Images

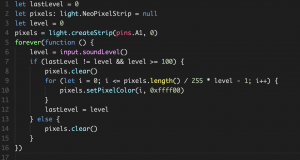
Code function: if the more pixels light up when the sound is louder (only if the sound is above threshold)

Changes to our approach

  1. We will try to make a light jacket (perhaps with less stuffing), so people can wear it indoor
  2. We will try to make it with transparent fabric so that the lights can have a glowing effect
  3. For now, instead of detecting the bass, we will detect loud sound since bass can be very tricky to detect
  4. We will add a “bounce” feature so that when the performer jump on stage the color changes as well
  5. We decide to make a vest instead of a jacket since a vest can be worn indoor and look cool at the same time.
  6. We decided to use the RGB NeoPixel as our primary way of lighting. We also design a pattern of where our lights would go

Material List

El Wire:

Blue, Green, Orange & Yellow colorways

$1.35 Each

6 wires in total

https://www.ellumiglow.com/electroluminescence/electroluminescent-wire

Neon Pixel Strip

LED light

$12.5 Each

0.5m – 2m

https://www.adafruit.com/product/3811?gclid=CjwKCAiAiJPkBRAuEiwAEDXZZdN0k6gopEcaCGBKvVWR_YBFFRyOOqmAiFx3_1TthxETDxXecGo_ZhoCfAwQAvD_BwE

Mini Skinny Neon Pixel Strip

mini LED light

$24.95 Each

1m – 2m

https://www.adafruit.com/product/2964?length=1

Lighting Tape Strip

Tape Strip

$8.95 Each

2 – 3?

https://www.adafruit.com/product/415?gclid=CjwKCAiAiJPkBRAuEiwAEDXZZQ3VhhcbDMvufS2GybwBge1zBLfJYWrOkZuZkYsYJYpU8I2vnJNpxRoCb5oQAvD_BwE

Lithium Ion Polymer Battery

Battery

$10 Each

2

https://www.adafruit.com/product/258

Areas of concern

We are trying to connect conductive fabrics with the lights. Unfortunately, we have trouble connecting the two for now


Project Post #7: Lit Lehenga

Individual: Jessica Fernandes

Weekly accomplishments:

  • I started sewing my garment
  • I practiced connecting my hardware in a wearable configuration
  • I continued to test my code

One Sentence:

  • Lit Lehenga is a traditional Indian garment that illuminates in darkness to mimic the magic of Diwali and celebrate Indian culture.
I started sewing from the design to the waist of the garment.

Linked below are my pictures of:

Materials


  • light sensor in/with CPE

Areas of concern

  • Finish sewing the hardware into garment (goal to complete by Wednesday end of class)
  • Make sure code at least turns lights on and off (goal to complete by Friday)
  • Poster design will be submitted today

Project Post #7: Scavenger Stuffs

Weekly Accomplishments:

Very good news this week in that the issues from last week were resolved! Soldering the pieces in fixed a lot of the issues I was seeing with the RFID reader/writer, and as of right now we have the following setup working:

RFID Read/Write -> File Write -> RSync -> Server Upload

Server -> Game

This means that the only outstanding issue is translating the RFID output to something recognizable by the game. When reading the RFID tag, any blank space appears to be changed into junk values, meaning that the user associated with it is not recognized (for example, if the user was “Maywood”, it is read in but the game sees it as “Maywood+junk vals” and doesn’t associate it with the user “Maywood”.

I started on a trimming piece to stop this error from occurring but messed up a bit of code in the process. First priority is fixing this bug so that we can finish the core functionality of the game.

It’d also be nice to do an automated RSync. That’s 2nd or 3rd priority.

As for other progress this week, we got the claws for Jody done, and the pendant designs are in the work. Instead of 3D printings, we’re going to use clay to envelop the tags and carve/paint designs in. Should be a much easier solution.

Also attempting to get a 3rd animal made before the end of the class. We’ll see how it goes.

Images:

Here’s a video of the program reading in a user’s name through the RFID reader/writer, ready to give them an anima

https://drive.google.com/open?id=1iwWv7HLuNg9Qk-LZaCYXrq_0CxLINis8


Additional Material List:

    1. Battery/USB Charger (still torn on which I’ll be using, but right now it isn’t a priority)
    2. MicroSD Card (this might add a bit to the expense of the plush
    3. Cost of Plastic for 3D printing the pendants (depends on whether I’m crushing the old pendant ot make the new one, or working around the original key fob. Again, I’ll make this call once I have a base product working).

Areas of Concern:

Now that most soldering is done, just a matter of fixing that RFID output formatter and setting up automated tasks for rsync.

It’d also be nice to get the pis hooked up to the wifi of wherever we’ll be presenting them, so that they won’t be tied to a 10ft radius around my phone.

Project Post 7

Circular Pleating

  • weekly accomplishments list what you accomplished for each team member

This Past week, I laser cut the garments for the showcase, and will be handsewing and thermoforming this week.


No new photos to post,


  • material list For each material fill out the following information (a table may be a good way to do this)
    • Part/Material
      • Polyester
    • Price
      • 2.37 per yard
    • Quantity
      • 12 yards
    • Link to a purchase location
      • https://www.fabricwholesaledirect.com/products/chiffon-fabric


Project Post #7

Safe Sleeve

Jake Cordover

One Sentence: Safe Sleeve is a soft, functional sleeve that conveys biomechanics that have historically been confined to clinical settings or cost prohibitive motion capture equipment.

Weekly accomplishments: This past week, I implemented Professor Ponto’s recommended implementation. This was a much simpler approach, without quaternions or Euler angles, but the data looks pretty good so this will probably be the chosen implementation for the final project.

Otherwise, I spent some time trying to get Bluetooth working— one sensor connects, but the other doesn’t so I’m trying to figure out why that’s the case. Additionally, I have begun work on a simple app for data visualization.

Images:

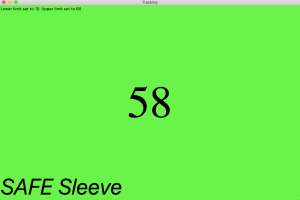
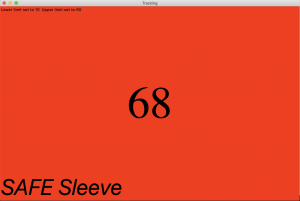
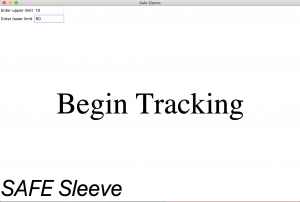
Below is the simple visualization app. I would like to add a line graph plotting knee angle vs time in the bottom right of the tracking screen. When the current angle of the knee crosses the threshold set the screen turns red, otherwise it is green.


Materials (no change):

Part/Material Price ($) Quantity Link
IMU 117 with discount secured 2 https://yostlabs.com/product/bluetooth-mini/
Knee Sleeve 1 16.97 1 https://www.amazon.com/PowerLix-Compression-Knee-Sleeve-Basketball/dp/B01MQYADOT/ref=sr_1_5?keywords=powerlix+knee+sleeve&qid=1552264456&s=gateway&sr=8-5
Knee Sleeve 2 20 1 https://www.amazon.com/Zensah-Knee-Compression-Sleeve/dp/B00GPU7QRO/ref=sr_1_6?keywords=zensah+knee+sleeve&qid=1552264496&s=gateway&sr=8-6#customerReviews
3D printing and associated costs TBD TBD TBD


Areas of concern: Now that the data looks much better, my biggest concern is getting the second Bluetooth sensor working.

Project Title: Hackerman

Project Team: Me, Myself and I

One Sentence: On-premises vulnerability assessment tool.

Weekly Accomplishments + Pics:

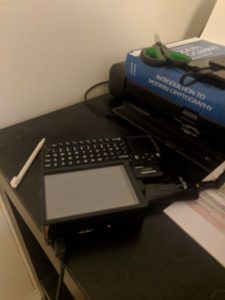
I have acquired a lcd mini screen and FINALLY got it to operate properly (after killing and resurrecting my raspberry pi 10 times, yes really) I am working out one or two issues with this pumpkin pi that I hope to resolve by the end of the week. Also the poster is done!

Material List:


Part

Price Quantity Link
wireless network adapter $28.50 1 https://www.amazon.com/gp/product/B0035OCVO6/ref=ppx_od_dt_b_asin_title_s01?ie=UTF8&psc=1
Ethernet cable $3 1 https://www.amazon.com/AmazonBasics-RJ45-Cat-6-Ethernet-Patch-Cable-5-Feet-1-5-Meters/dp/B00N2VILDM/?tag=whtnb-20
Raspberry Pi 3 or 3 B+ $38.10 1 https://www.amazon.com/ELEMENT-Element14-Raspberry-Pi-Motherboard/dp/B07BDR5PDW/?tag=whtnb-20
microSD card $6.85 1 https://www.amazon.com/SanDisk-microSDHC-Standard-Packaging-SDSQUNC-032G-GN6MA/dp/B010Q57T02/?tag=whtnb-20
power source (Enokay Power Supply for Raspberry Pi 5V 2.5A Micro USB Charger Adapter with On Off Switch) $8.59 1 https://www.amazon.com/Enokay-Supply-Raspberry-Charger-Adapter/dp/B01MZX466R/?tag=whtnb-20
USB keyboard/mouse interface (Rii Mini Wireless 2.4GHz Keyboard with Mouse Touchpad Remote Control, Black (mini X1)) $16.99 1 https://www.amazon.com/gp/product/B00I5SW8MC/?tag=whtnb-20
SD card adapter $7.99 1 https://www.amazon.com/Vanja-standard-Connector-Notebooks-Smartphones/dp/B00W02VHM6/?tag=whtnb-20
Raspberry Pi Zero Wifi $10.00 1 https://www.adafruit.com/category/933?src=raspberrypi
Pi Zero USB Stem $5.00 1 https://shop.pimoroni.com/products/zero-stem-usb-otg-connector
2 x Tactile Push Button Switch With LED lights $3.00 1 https://www.aliexpress.com/item/5PCS-1-set-12X12X7-3-Tactile-Push-Button-Switch-Momentary-Tact-LED-5-Color-12X12X7-3mm/32873551440.html?spm=2114.search0104.3.2.3b0241a0ILdgzL&ws_ab_test=searchweb0_0,searchweb201602_5_10065_10130_10068_10890_10547_319_10546_317_10548_10545_10696_453_10084_454_10083_10618_10307_537_536_10902_10059_10884_10887_321_322_10103,searchweb201603_58,ppcSwitch_0&algo_expid=0747bf75-f245-43c5-a0c1-4966ea4078a8-0&algo_pvid=0747bf75-f245-43c5-a0c1-4966ea4078a8&transAbTest=ae803_5
DIP switch with 4 switches $3.00 1 https://www.aliexpress.com/item/10pcs-lot-Slide-Type-SMT-SMD-Dip-Switch-2-54mm-Pitch-2-Row-4-Pin-2/32956815576.html?spm=2114.search0104.3.3.4c971641sXqPaV&ws_ab_test=searchweb0_0,searchweb201602_5_10065_10130_10068_10890_10547_319_10546_317_10548_10545_10696_453_10084_454_10083_10618_10307_537_536_10902_10059_10884_10887_321_322_10103,searchweb201603_58,ppcSwitch_0&algo_expid=60dfe6ec-dd9e-4db7-93f0-5f94aec30ef4-0&algo_pvid=60dfe6ec-dd9e-4db7-93f0-5f94aec30ef4&transAbTest=ae803_5
2 x 330R resistors HAVE 1
MFRC522 RFID reader module $5.49 1 https://www.amazon.com/gp/product/B01CSTW0IA/ref=ppx_od_dt_b_asin_title_s01?ie=UTF8&psc=1
MIFARE 1K RFID card (with changeable UID, 13.56Mhz) Included 1
some RFID card to copy (only 13.56Mhz cards can be read/written by this particular card reader module) Included 1
Tactile Touch Push Button Switch Tact Switches 6 X 6 X 5mm Included 1
LEDs (red, yellow, green) + resistors (1k ohm) $7.00 1 https://www.amazon.com/gp/product/B01ER728F6/ref=ppx_od_dt_b_asin_title_s02?ie=UTF8&psc=1
3 AA batteries (1.5V each) HAVE 1
2 zener diodes (3.7V) or (3.6V) $8.00 1 https://www.amazon.com/gp/product/B07BTKVRG8/ref=ppx_od_dt_b_asin_title_s01?ie=UTF8&psc=1
switch (3 Terminals ON/ON 2 Positions SPDT Electronic Push Button Sliding Switches) $5.00 1 https://www.amazon.com/gp/product/B0799R529Z/ref=ppx_od_dt_b_asin_title_s02?ie=UTF8&psc=1
cables, hot glue, tape (30AWG Insulated Silver Plated Single Core Copper PCB 0.25mm Kynar Wrapping Wire) $5.00 1 https://www.amazon.com/gp/product/B07M7BHKRV/ref=ppx_od_dt_b_asin_title_s01?ie=UTF8&psc=1
Arduino Pro Micro 5V $20.89 1 https://www.amazon.com/gp/product/B01MTU9GOB/ref=ppx_yo_dt_b_asin_title_o04_s00?ie=UTF8&psc=1
PCB Prototyping Board $10.00 1 https://www.amazon.com/gp/product/B072Z7Y19F/ref=ppx_od_dt_b_asin_title_s02?ie=UTF8&psc=1
Solder Gun $67.98 1 https://www.amazon.com/gp/product/B01MDTO6X7/ref=ppx_yo_dt_b_asin_title_o06_s00?ie=UTF8&psc=1
Desoldering Gun and Desoldering Wick $7.69 1 https://www.amazon.com/gp/product/B07BB8DGMP/ref=ppx_yo_dt_b_asin_title_o07_s00?ie=UTF8&psc=1
Battery Pack For Raspberry Pi 3 B+ $25.25 1 https://www.amazon.com/gp/product/B07BSG7V3J/ref=ppx_yo_dt_b_asin_title_o02_s00?ie=UTF8&psc=1

Areas of Concern: Still need to figure out a way to boost my wifi pumpkin to be more powerful and need to find a way to effectively demonstrate my tools, may be difficult without getting into technicalities. I am also concerned about my covers fitting onto my parts. I have been having a lot of difficulty with the low quality my parts have been coming back as and will need to redesign around this, looking for better 3D printing avenues.

Project Post #7

Wearable Circuits

John Compas

I’ve finished a lot of testing and will work on a few final designs tomorrow, along with getting some good pictures of my designs on somebody.

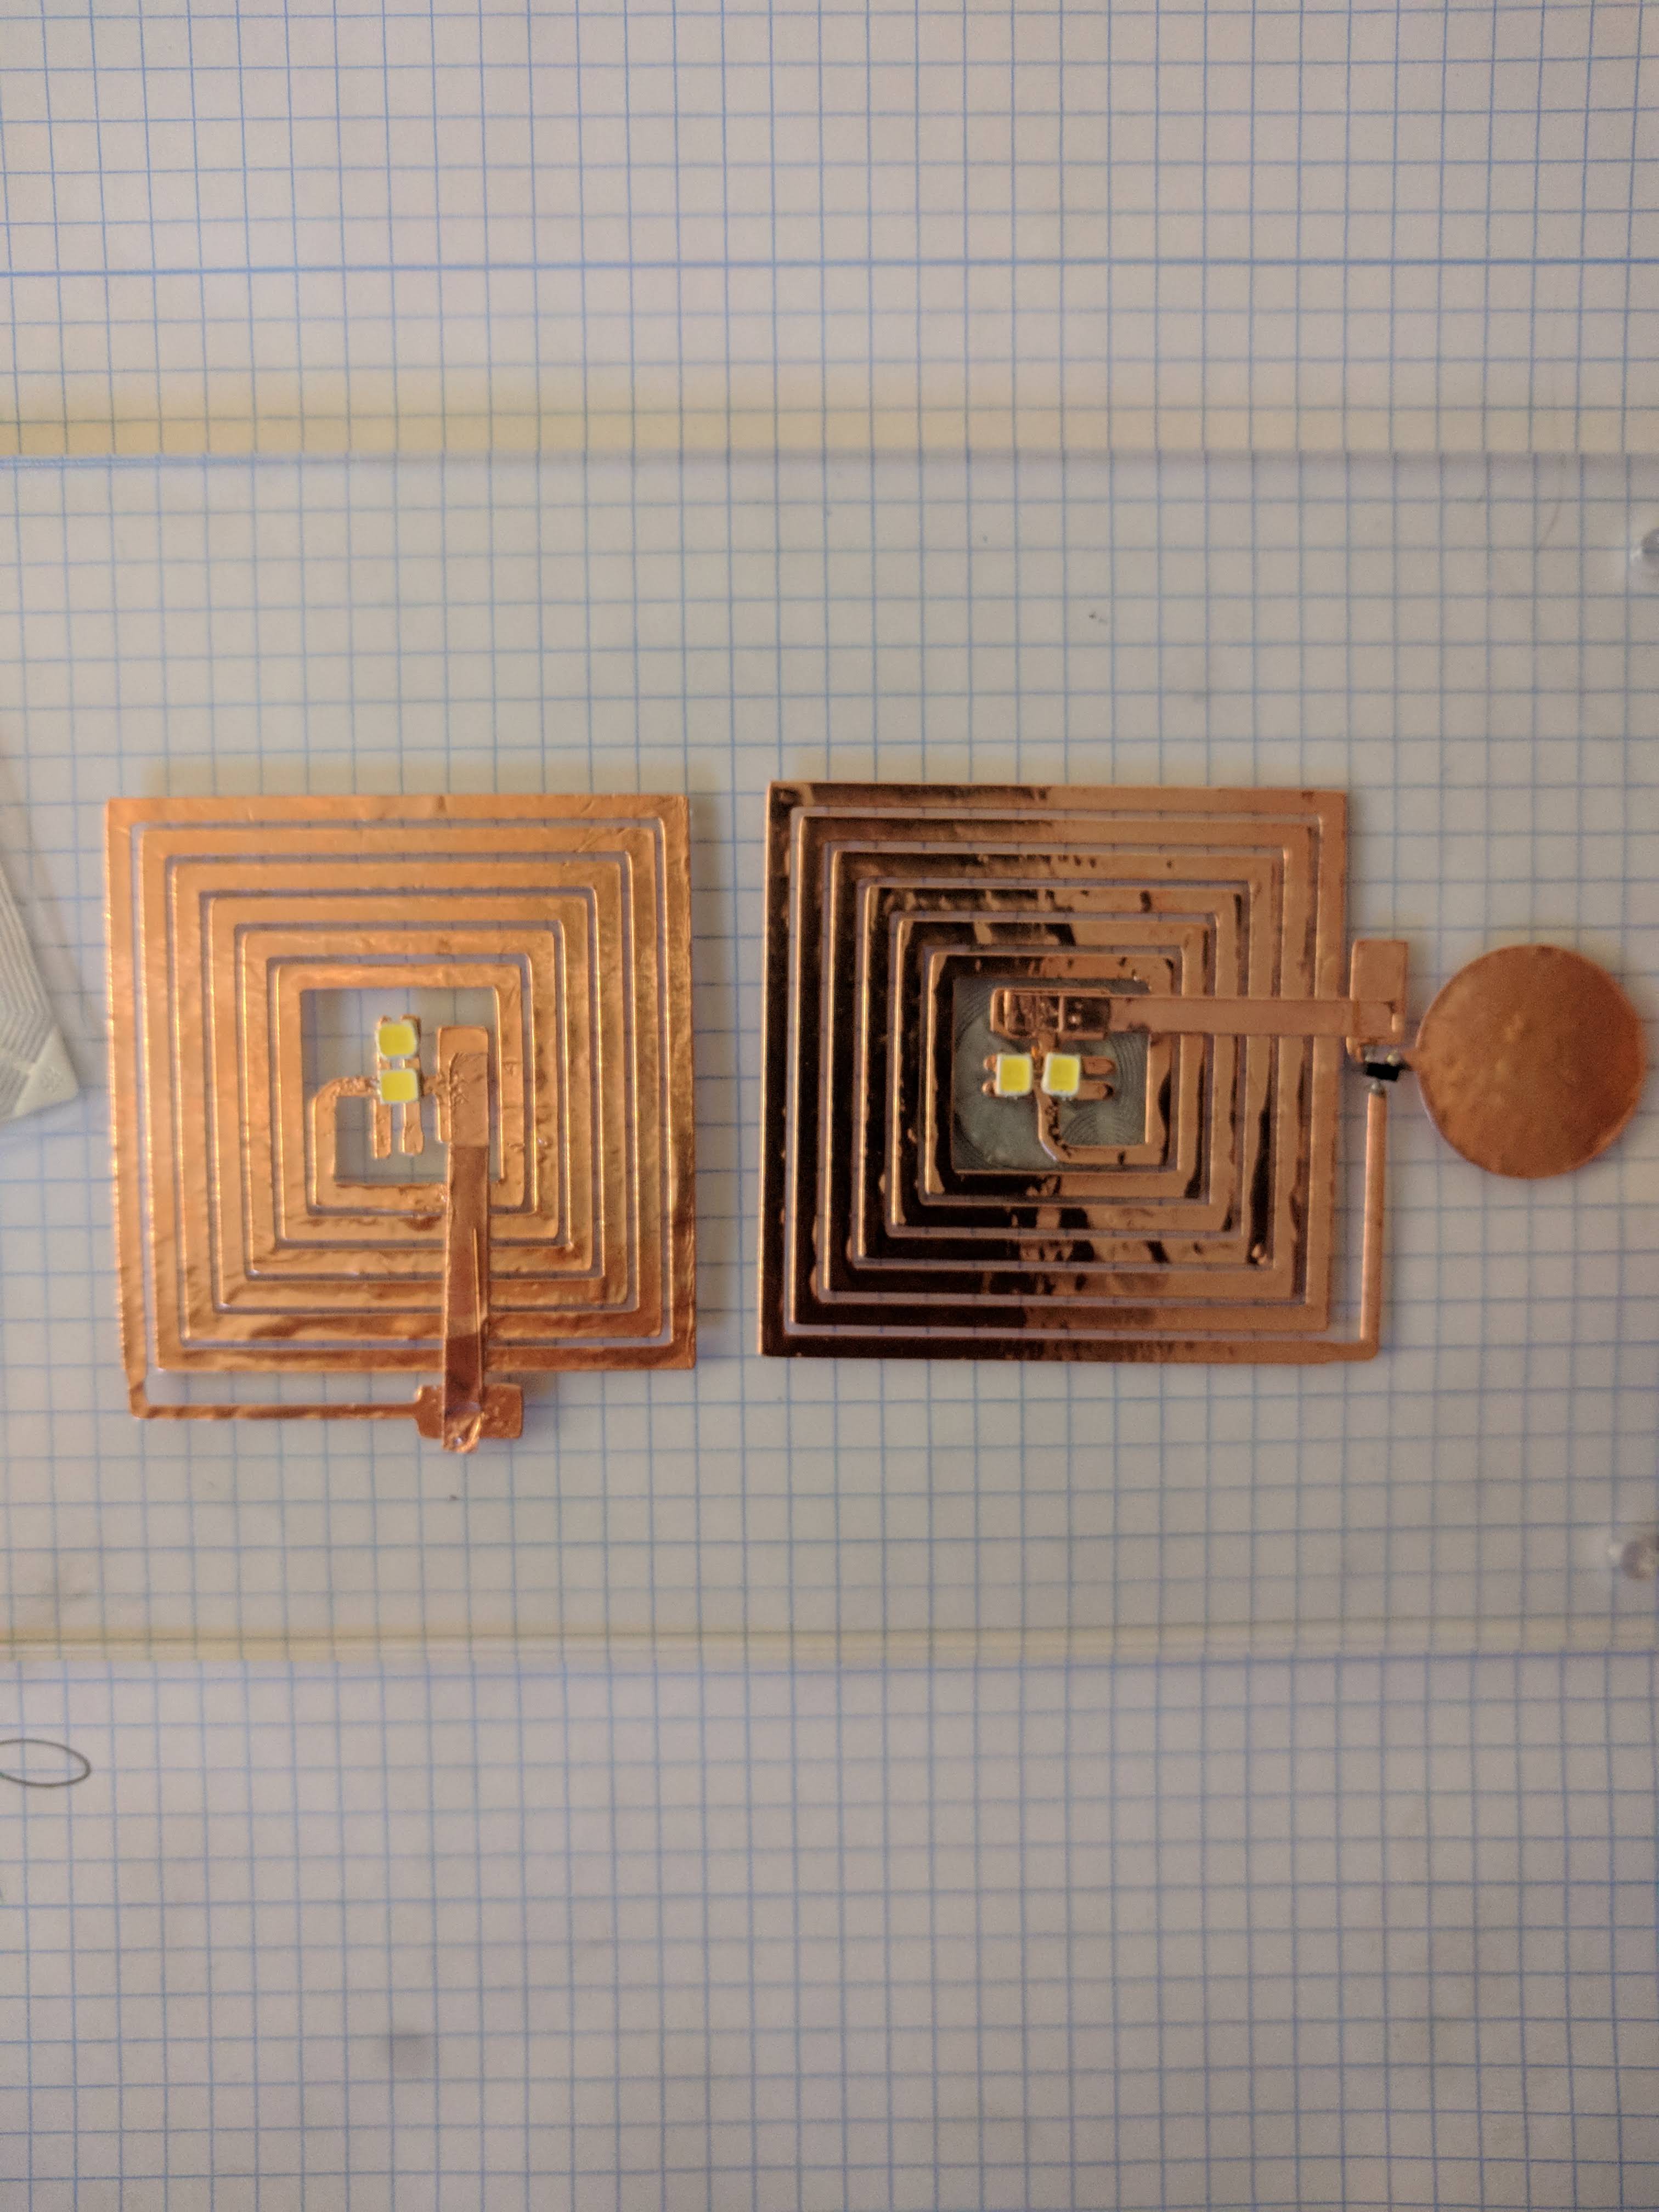
The “antennas” I’ve made power LEDs from a phone’s NFC coil pretty well. However, I have to “trick” the phone into thinking that there is an actual NFC tag near the coil otherwise the phone will not recognize it and will not fully power it.

I’m working on a quick little Android application to try to force the phone to not need to recognize a tag to turn on the NFC read/writer, but that might be more challenging than I thought it would be.

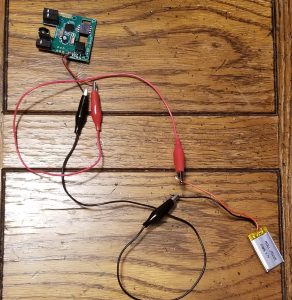
I’ve also finished with a battery-powered version of the circuit, to show that this configuration works with batteries too.

Materials List:

  1. Clear Covering Self-Adhesive 
    1. https://www.amazon.com/Magic-Cover-Adhesive-Contact-Projects/dp/B000BPF9QY/ref=sr_1_26?crid=QOW16D2H82TC&keywords=vinyl+adhesive+paper&qid=1551742619&s=gateway&sprefix=vinyl+ad%2Caps%2C195&sr=8-26
    2. Count: 1
    3. Cost: $5.50
  2. Silhouette Temporary Tattoo Paper
    1. https://www.amazon.com/Silhouette-MEDIA-TATTOO-Temporary-Tattoo-Paper/dp/B0043WJ3OA
    2. Count: 1
    3. Cost:  $8.99
  3. Spray Adhesive
    1. https://www.amazon.com/3M-General-Purpose-45-Adhesive/dp/B000PCWRMC
    2. Count: 1
    3. Cost: $5.77
  4. Speedball Gold Leaf
    1. https://www.amazon.com/Bememo-Imitation-Gilding-Crafting-Decoration/dp/B0722X91YR
    2. Count: 1
    3. Cost: $6.99
  5. SPMWH22286D5WAP0S2 (Samsung LEDs)
    1. Count: 100
  6. RC1210JR-07100RL (100 Ohm Resistor)
    1. Count: 100
  7. SL3S1203FTB0,115 (UHF RFID)
    1. Count: 10
  8. C1812C102KGRACAUTO (Capacitor)
    1. Count: 10
  9. NTR5105PT1G (Diode)
    1. Count: 10
  10.  Conductive Guitar Tape
  11.  NSR201MXT5G (RF Schottky Diode)
  12.  ST25DV16K-IER6T3 (NFC IC)
  13. RF700072 (NFC Antenna)
  14. RF700070 (NFC Antenna)


Project Post #7: Virtual Vermin

Virtual Vermin

Jeff Brandt


One Sentence: A flexible, full functioning computer mouse designed with 3D modeling in mind.


Weekly Accomplishments:

  • Reconfigured soft switch buttons to stretch the conductive fabric further down the fingers (again after they broke on Monday)
  • Found new way to power the mouse using 3.7V battery from demo projects


Images:

Material List:

Wireless Mouse // Quantity: 1 // $9.99 // https://www.amazon.com/gp/product/B015X2OD52/ref=ppx_yo_dt_b_asin_title_o00_s00?ie=UTF8&psc=1

Conductive Fabric // Quantity: 1 sq. ft. // ? // Supplies in classroom

Conductive Thread // Quantity: 2 yds. // ? // Supplies in classroom

  Gloves // Quantity: 1 // $11.95 // https://www.amazon.com/Agloves-screen-gloves-texting-gloves/dp/B004A9FI2M/ref=sr_1_6?keywords=thin+glove&qid=1552266834&s=electronics&sr=1-6

3D printed cover for circuit board // Quantity: 1 // $2.14 // created in Solidworks


Areas of Concern:

Right now, my biggest area of concern is soldering the connections in my glove. I have soldered before but it has been awhile since I last did. Kevin, if you would be able to assist me in soldering a few connections that would be appreciated.

Additionally, I am looking to add a last second compartment to house the new battery. Marianne, could I run a few ideas past you on Monday to get your opinion as to what you think would work best?

Theremin Jacket – Project Post 7

Project Post 7

Project Title

Velcro MIDI Jacket

Project Team

Junda Chen, Jeff Ma, Yudong Huang, William Black

One Sentence that describes your project

A MIDI(Theremin) jacket that can be worn and played as an instrument for synchronized acoustic and visual performances.

Weekly Accomplishments

  • Jacket
    • Waistband velcro strip for the back is sewed on and ready to go (Yudong)
    • Front and back waistband velcro strip sewed and enclosed to the side (Yudong)
    • Vertical velcro strip cut and ready to be sewed (Yudong)
    • Leap motion case attached to jacket (Yudong)
  • Leap Motion Case
    • Sewed on and ready for leap motion to be put in (Yudong)
  • Light Strip
    • Switch to Arduino code rather than MakeCode and JavaScript for data transfer (Jeff)
    • Able to get data feed through Arduino code and slide to certain positions with assistance from Kevin (Jeff)
  • Raspberry PI Power supply
    • Reimaging Raspberry PI with a proper system (Junda)
    • Test connectivity and data transmission through the PI (Junda)
  • Leap Motion Device
    • Modified MIDI sound and shared code for data transmission among the team (William)
  • Poster
    • Constructed rough draft for poster design (Yudong, William)
    • Added a background of visualizations representing spacial sound effects for better delivery and integration based on suggestions from Marianne (Yudong, William)

Image/Video

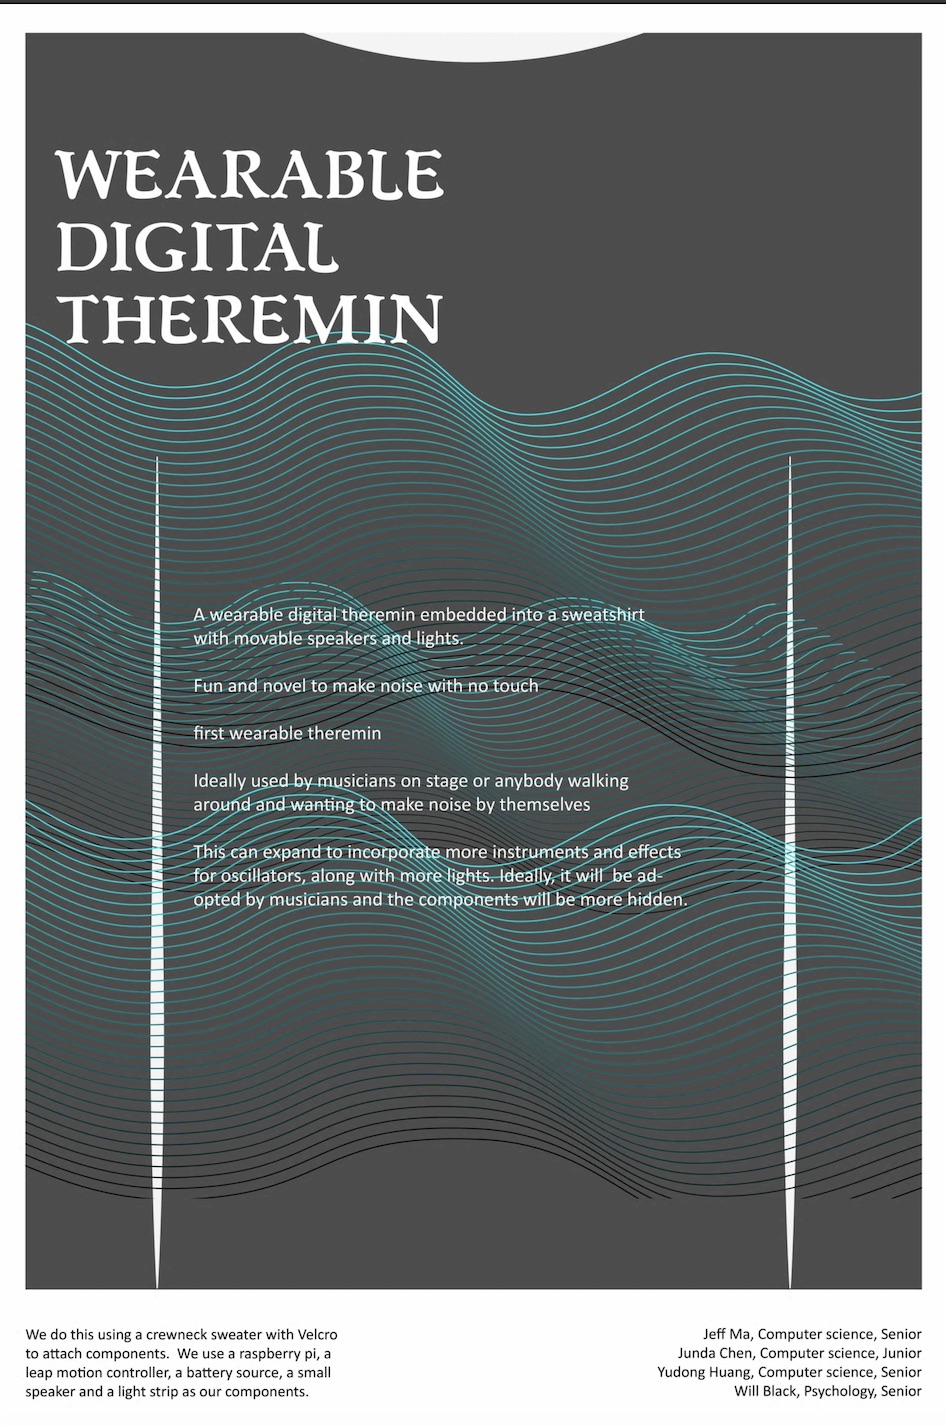
Image 1 Poster draft picture

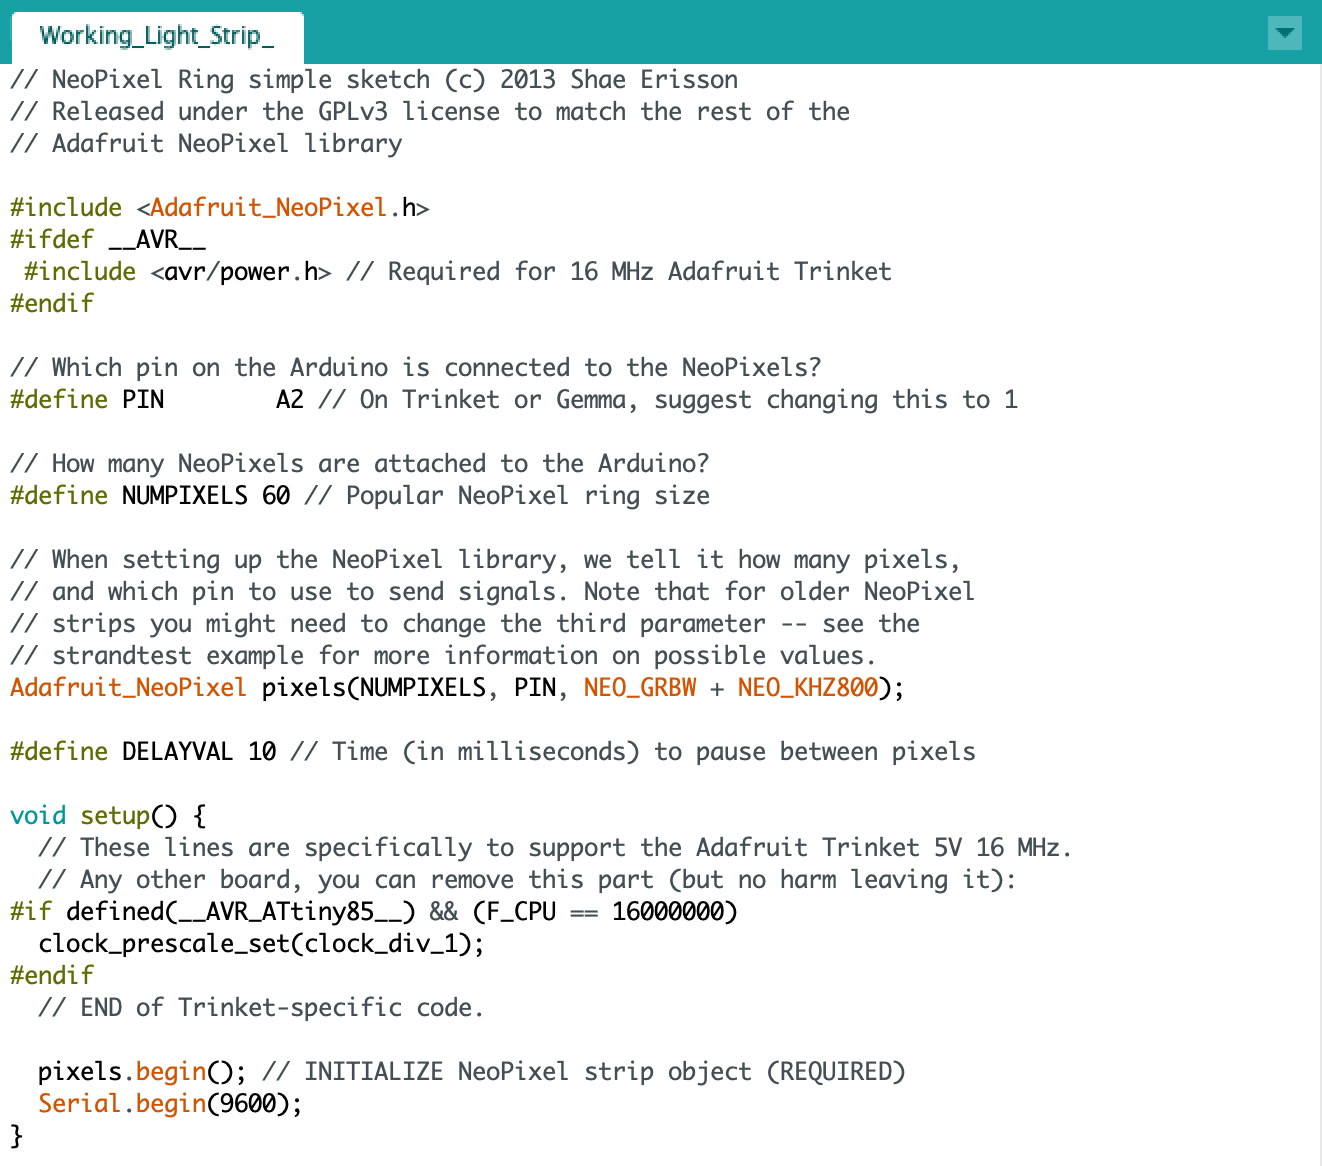
Image 2 Light strip Arduino demo Arduino code

Material list

  • Circuit Board: (Potentially) MIDI encode/decoder, Leap motion image processor,
    • Arduino (1):
    • Circuit Playground (1)22
    • Raspberry Pi 3B + (1, with toolkits): $30-50
  • Leap Motion (1): $96
  • LED Striplight (2, TBD)
  • Black velcro fabric (we have in the studio)
  • A Jacket (1, TBD)
  • (Safe) Infrared LED (20)
  • A long USB cable (x2) (for emergency and design)
  • Portable speaker for sound display

Areas of Concern

  • The material and technique we need to cover the hardware
  • The power source used to power leap motion and transfer data needs to be determined and started testing
  • Deliver streams of data consistently from leap motion
  • Offer proper data transfer medium for leap motion to feed to Neopixel light strip
  • Change Arduino code so the light strip slides as designed for the project