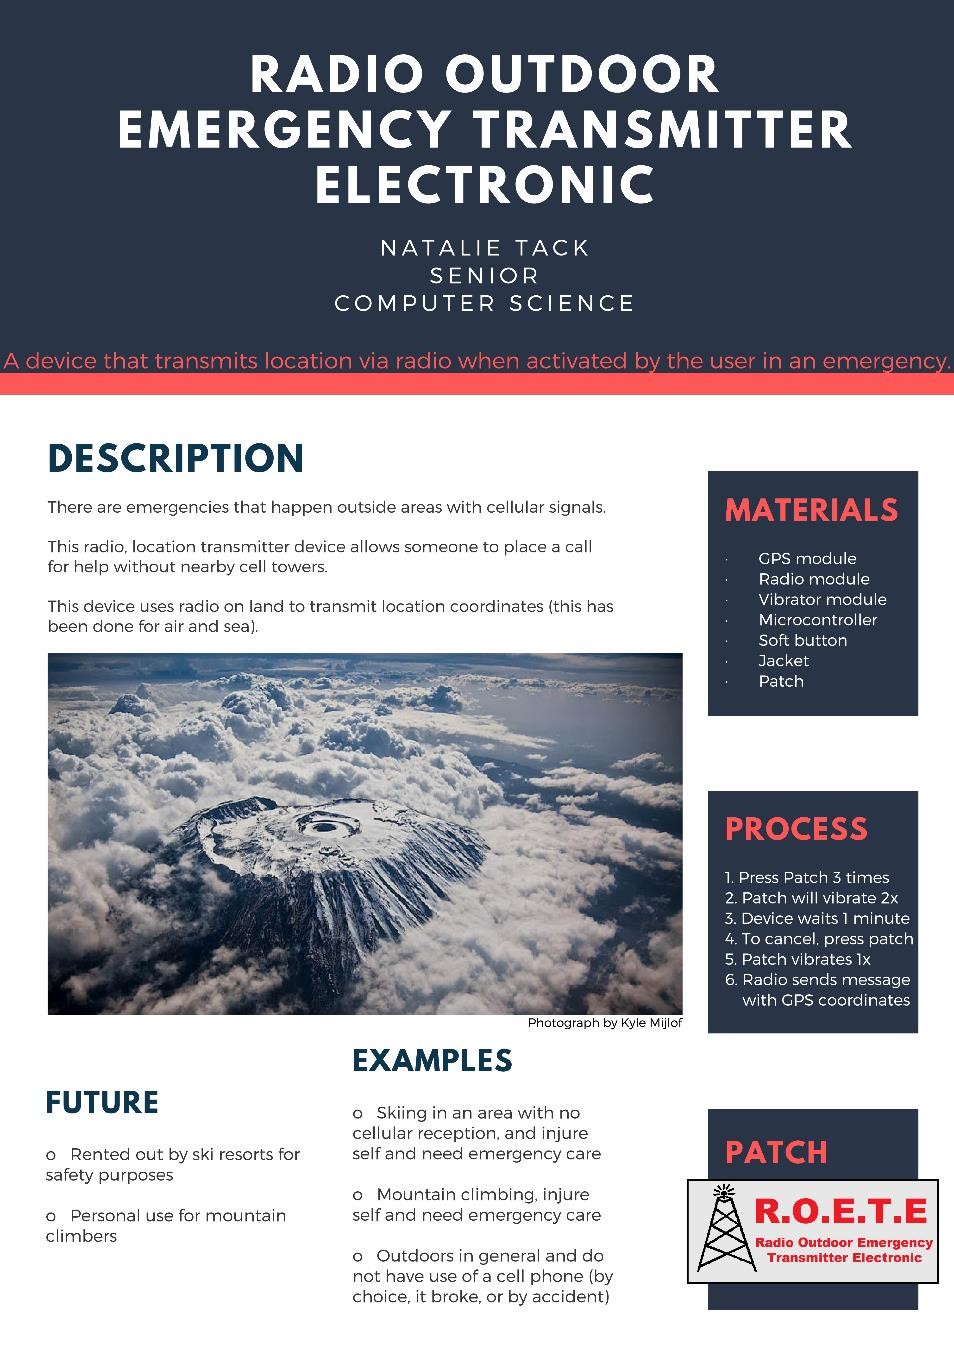
Radio Outdoor Emergency Transmitter Electronic
Natalie Tack
One sentence that describes my project: A device that transmits location via radio when activated by the user in an emergency.
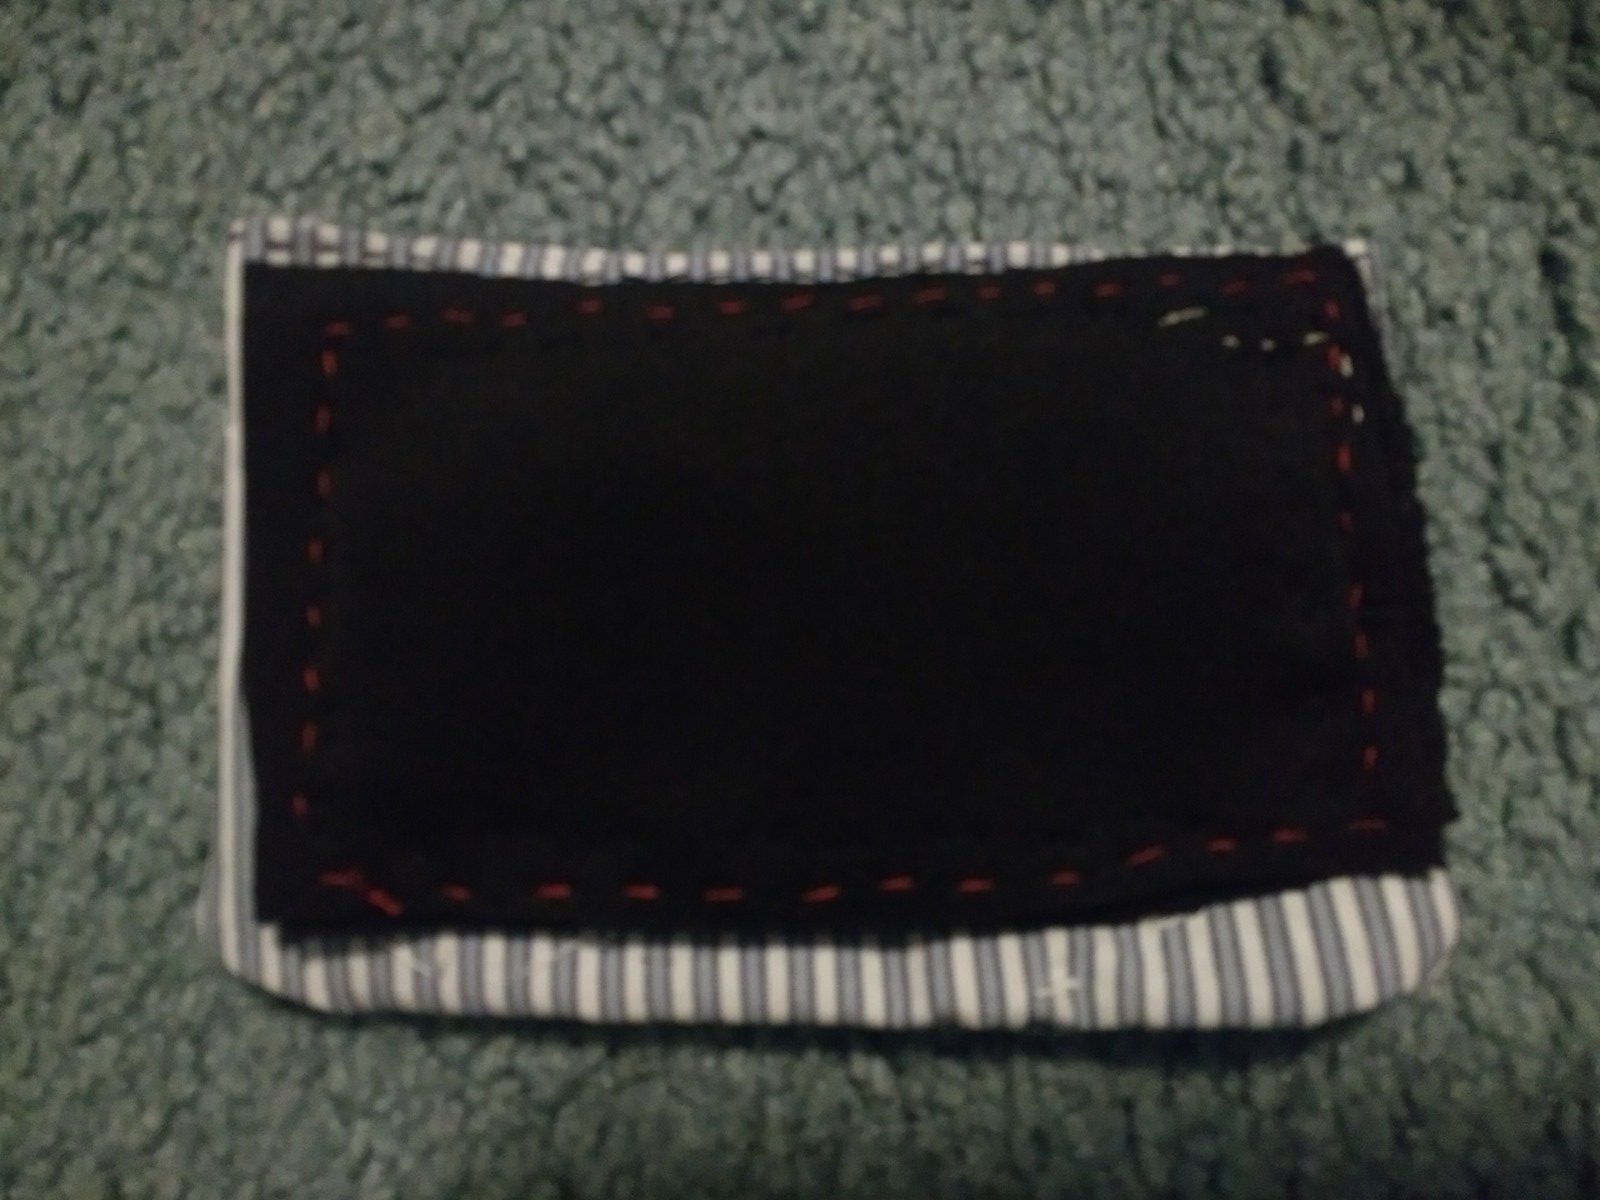
Image of Poster:
Video:
What the project does and how it works:
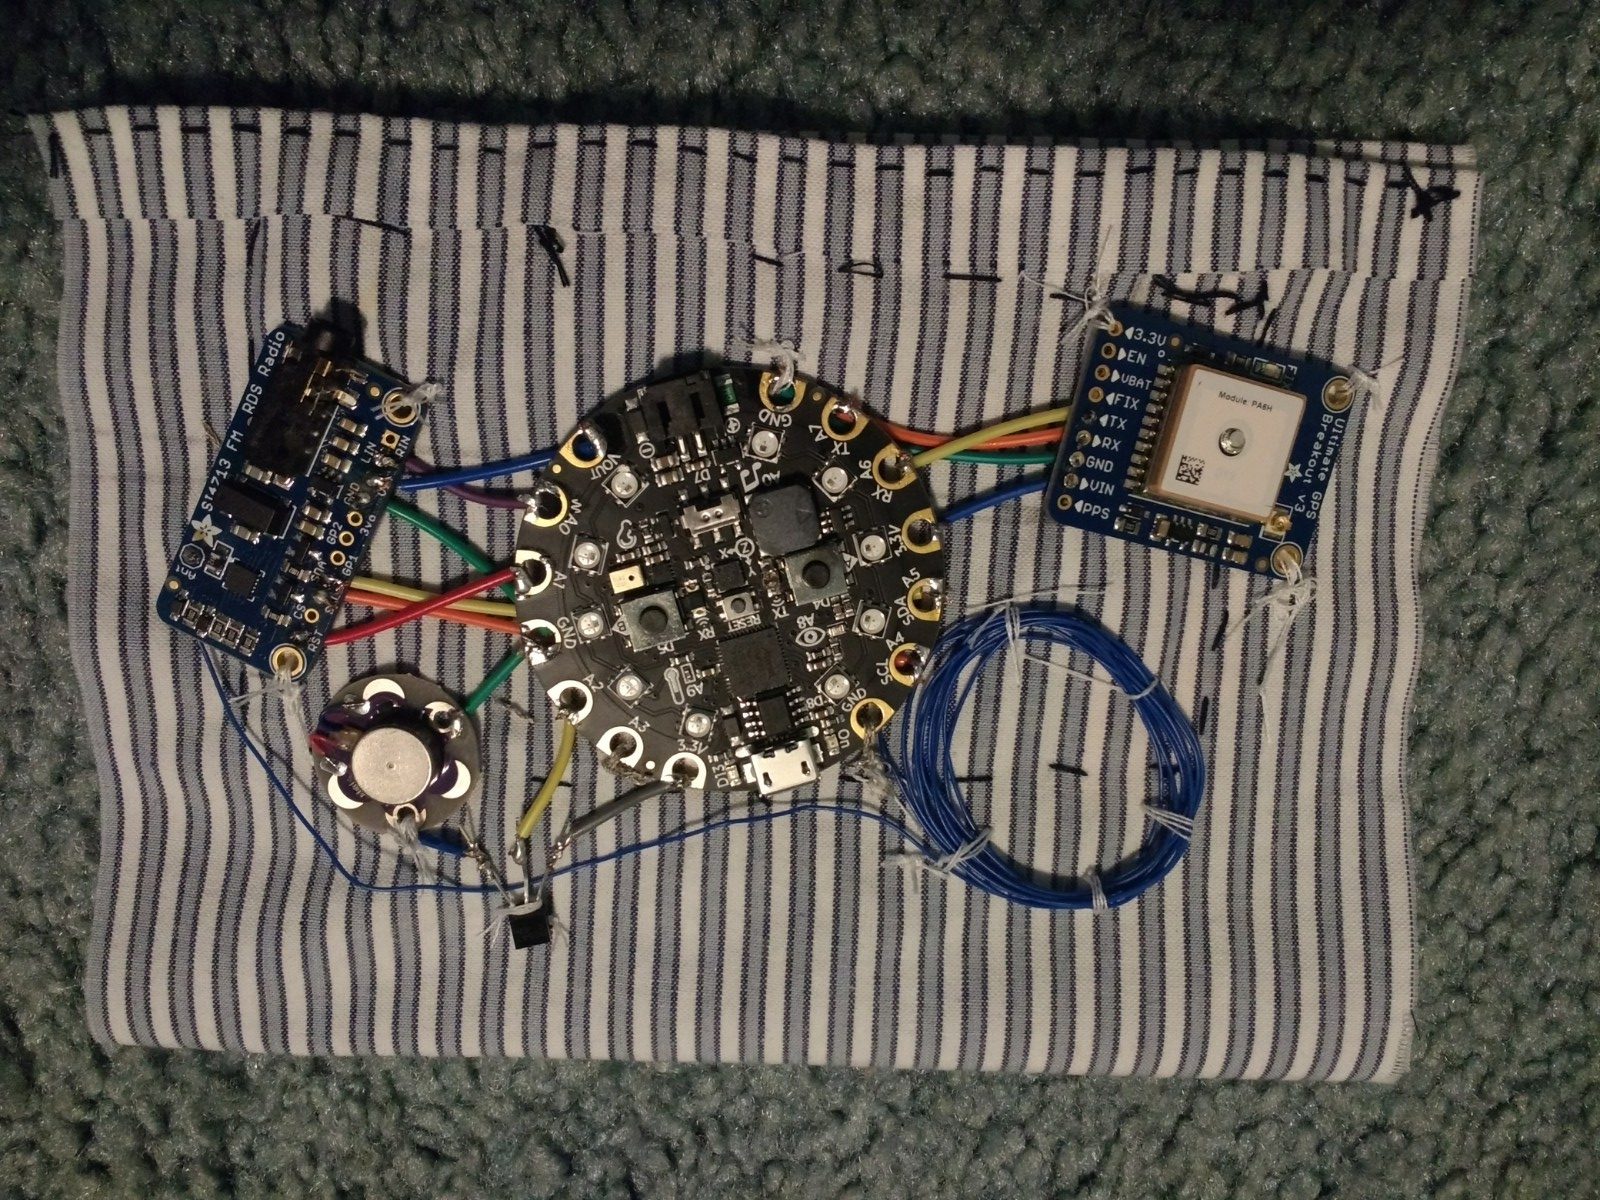
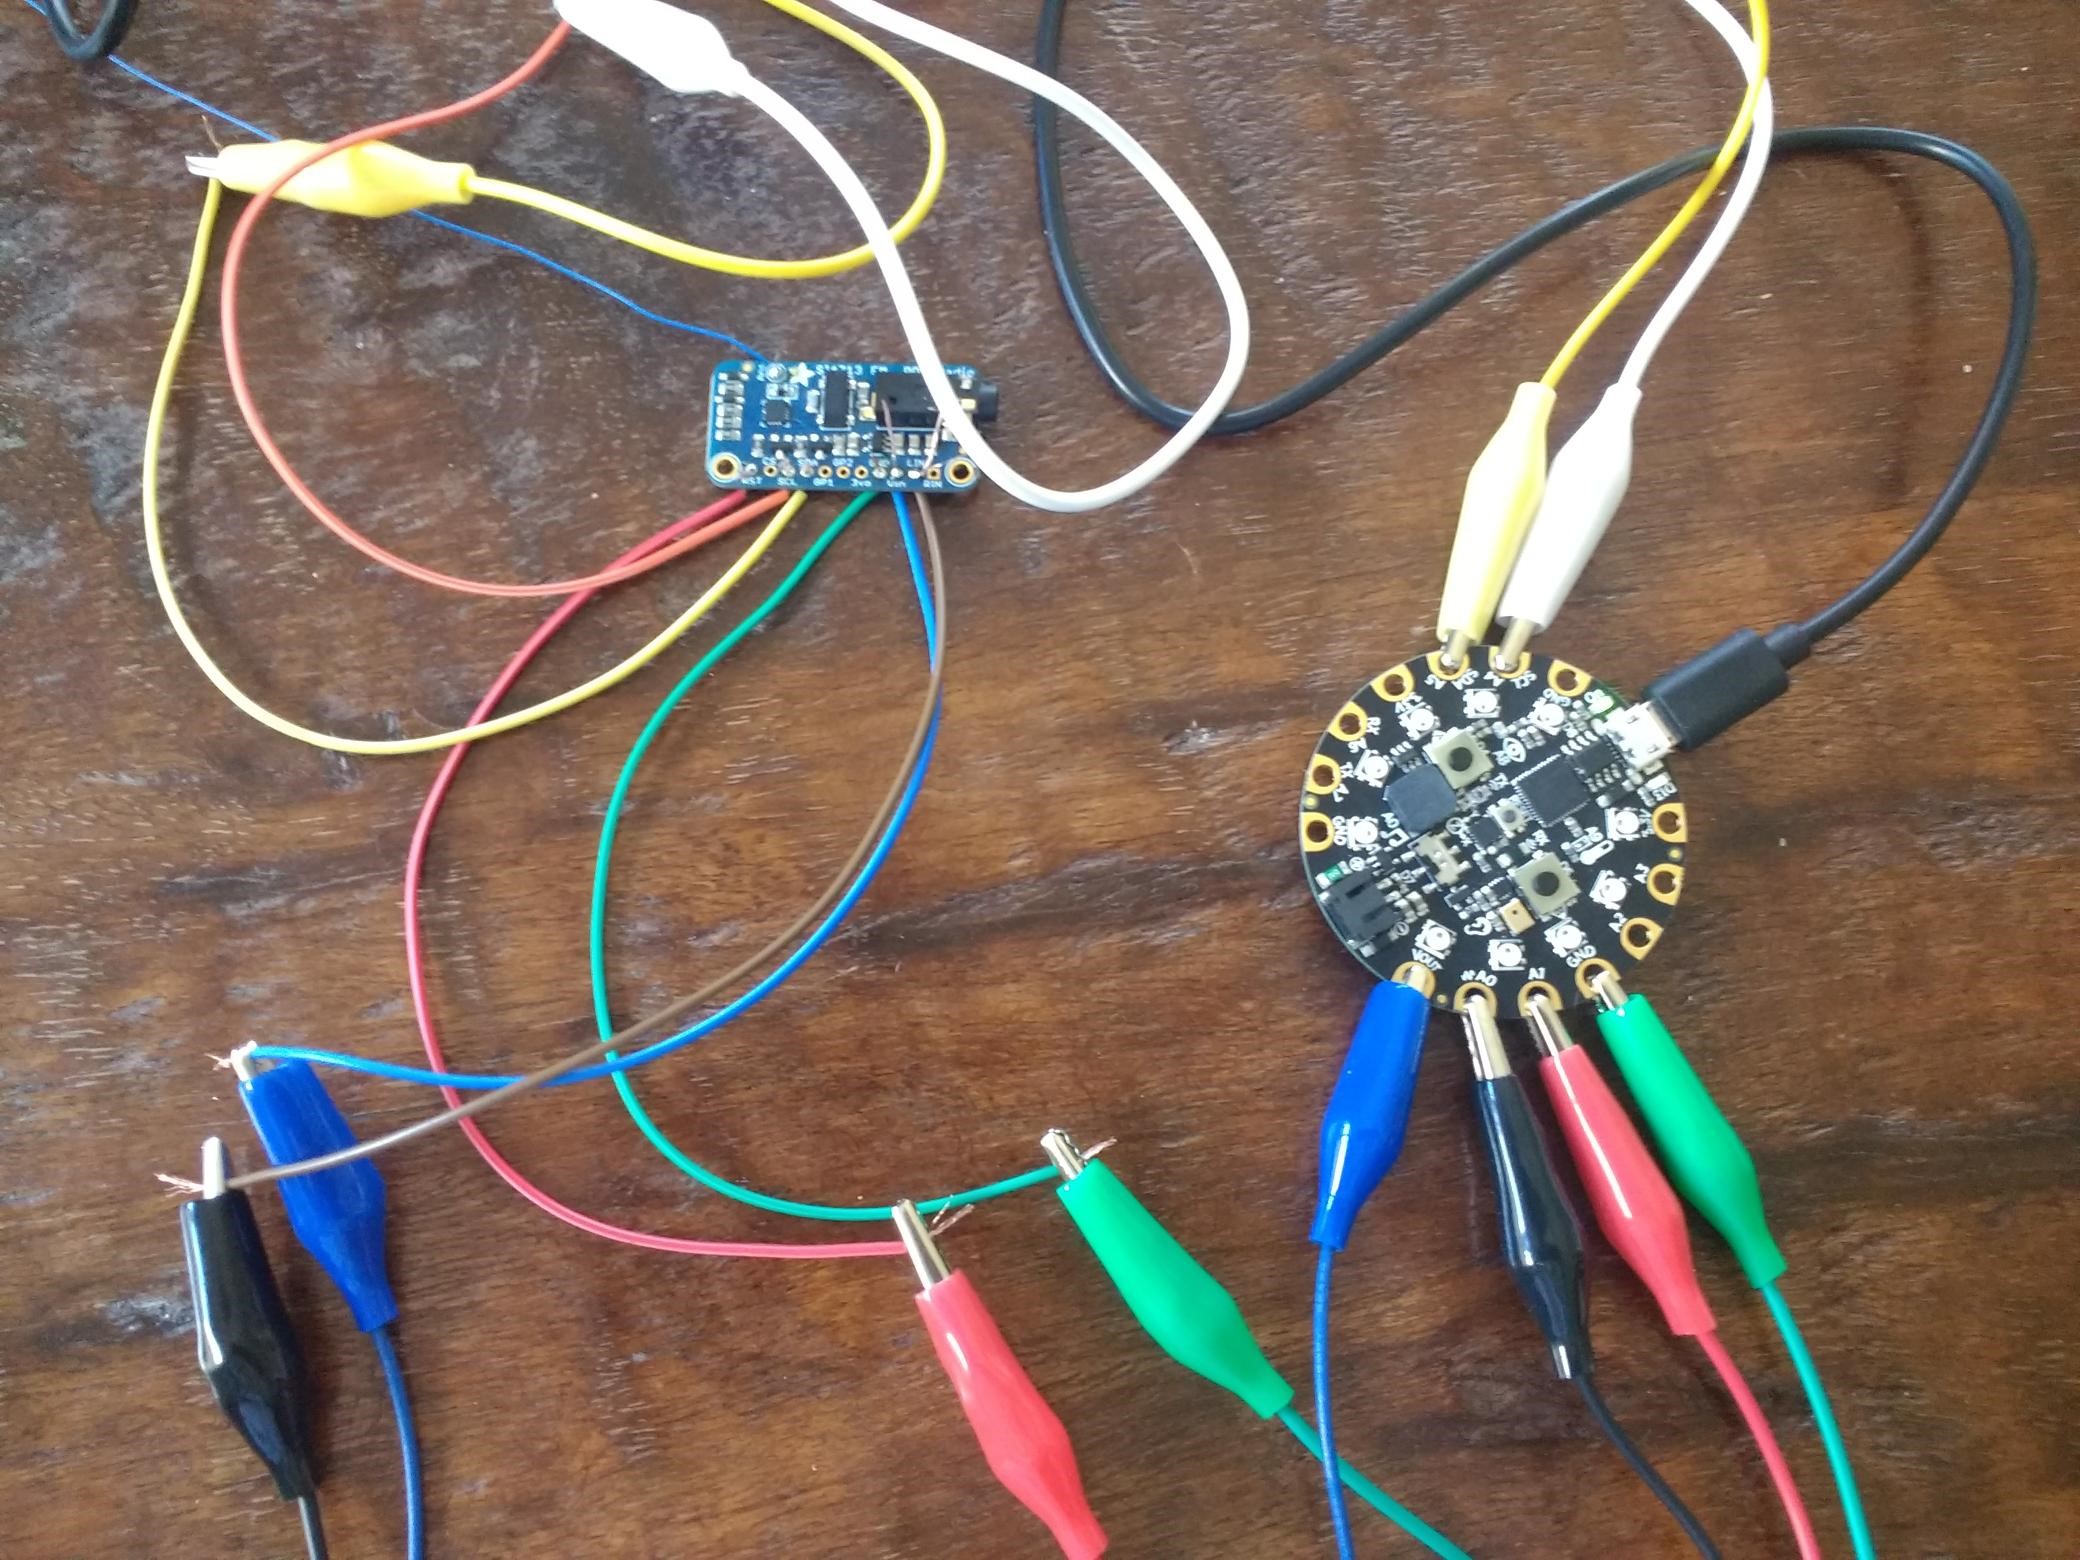
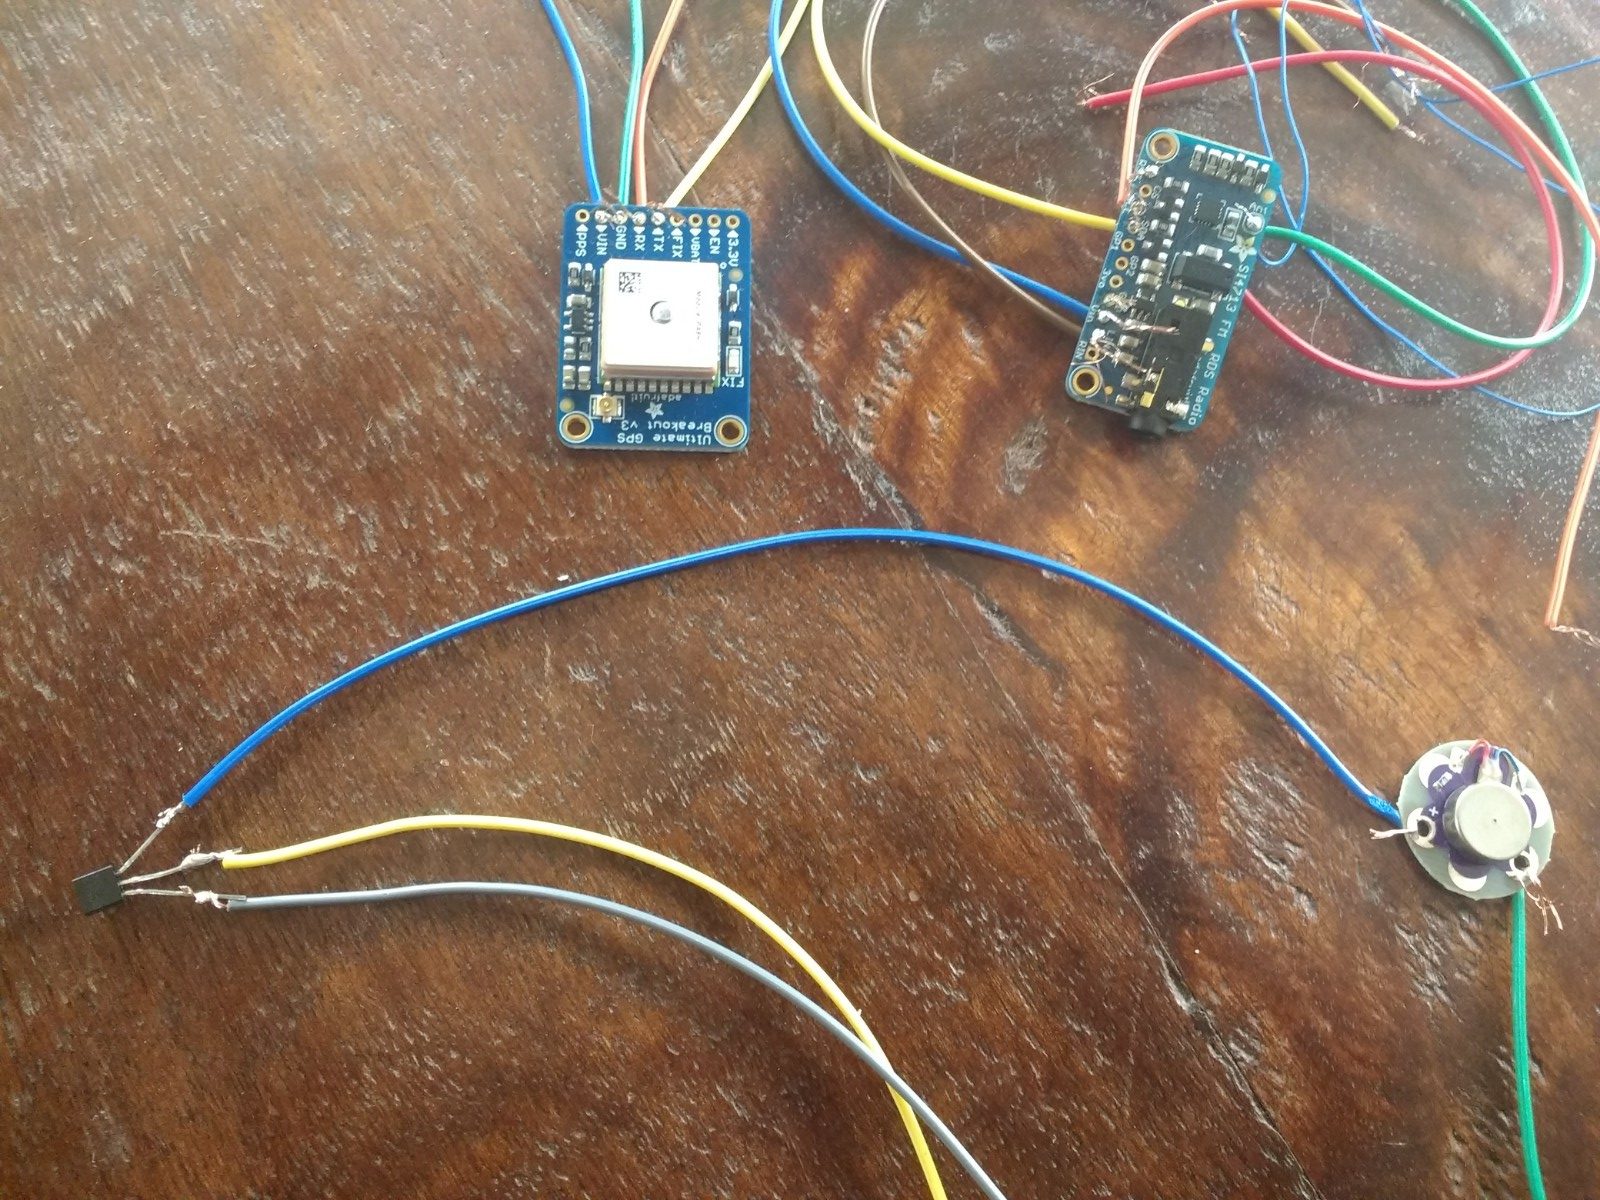
My project is a Radio Outdoor Emergency Transmitter. It transmits a radio message that has a generic call for help with specific GPS coordinates when the user sends the transmission. The user sends the transmission by pressing the patch 3 times, then the device vibrates twice, then the device waits 1 minute (30 seconds for demo purposes), then vibrates once more, then sends the radio transmission. This radio transmission then repeats once per minute .
When the user presses the button three times, the vibrator is activated for 2 pulses and the GPS module is activated, then if there is no user input in the 1 minute time period, the radio module is activated and the generic message for help and specific GPS coordinates are sent (specifically over the 89.00 FM frequency).
Overall thoughts:
Overall, I am pleased with my project, I have always been interested in radio, so this project was really interesting for me to work on. The only thing I am really disappointed in is that I was not able to broadcast the radio waves very far (mostly because I was afraid of breaking some laws regarding how far one can transmit for recreational purposes) and also that I relied heavily on the radio module to transmit the messages.
Comparison to Original Project Description:
After establishing the original description for this project I would say that this project does what I initially sought out to do, when activated, a distress signal containing GPS coordinates is transmitted over the radio. However, this device is not practical if the distance between the radio transmitter and the receiver has to be close. I think the original goal was to have the radio transmitter and receiver far away from one another, so I guess in this respect my goal was not met (primarily due to the reason stated above).
Latest Hurdles:
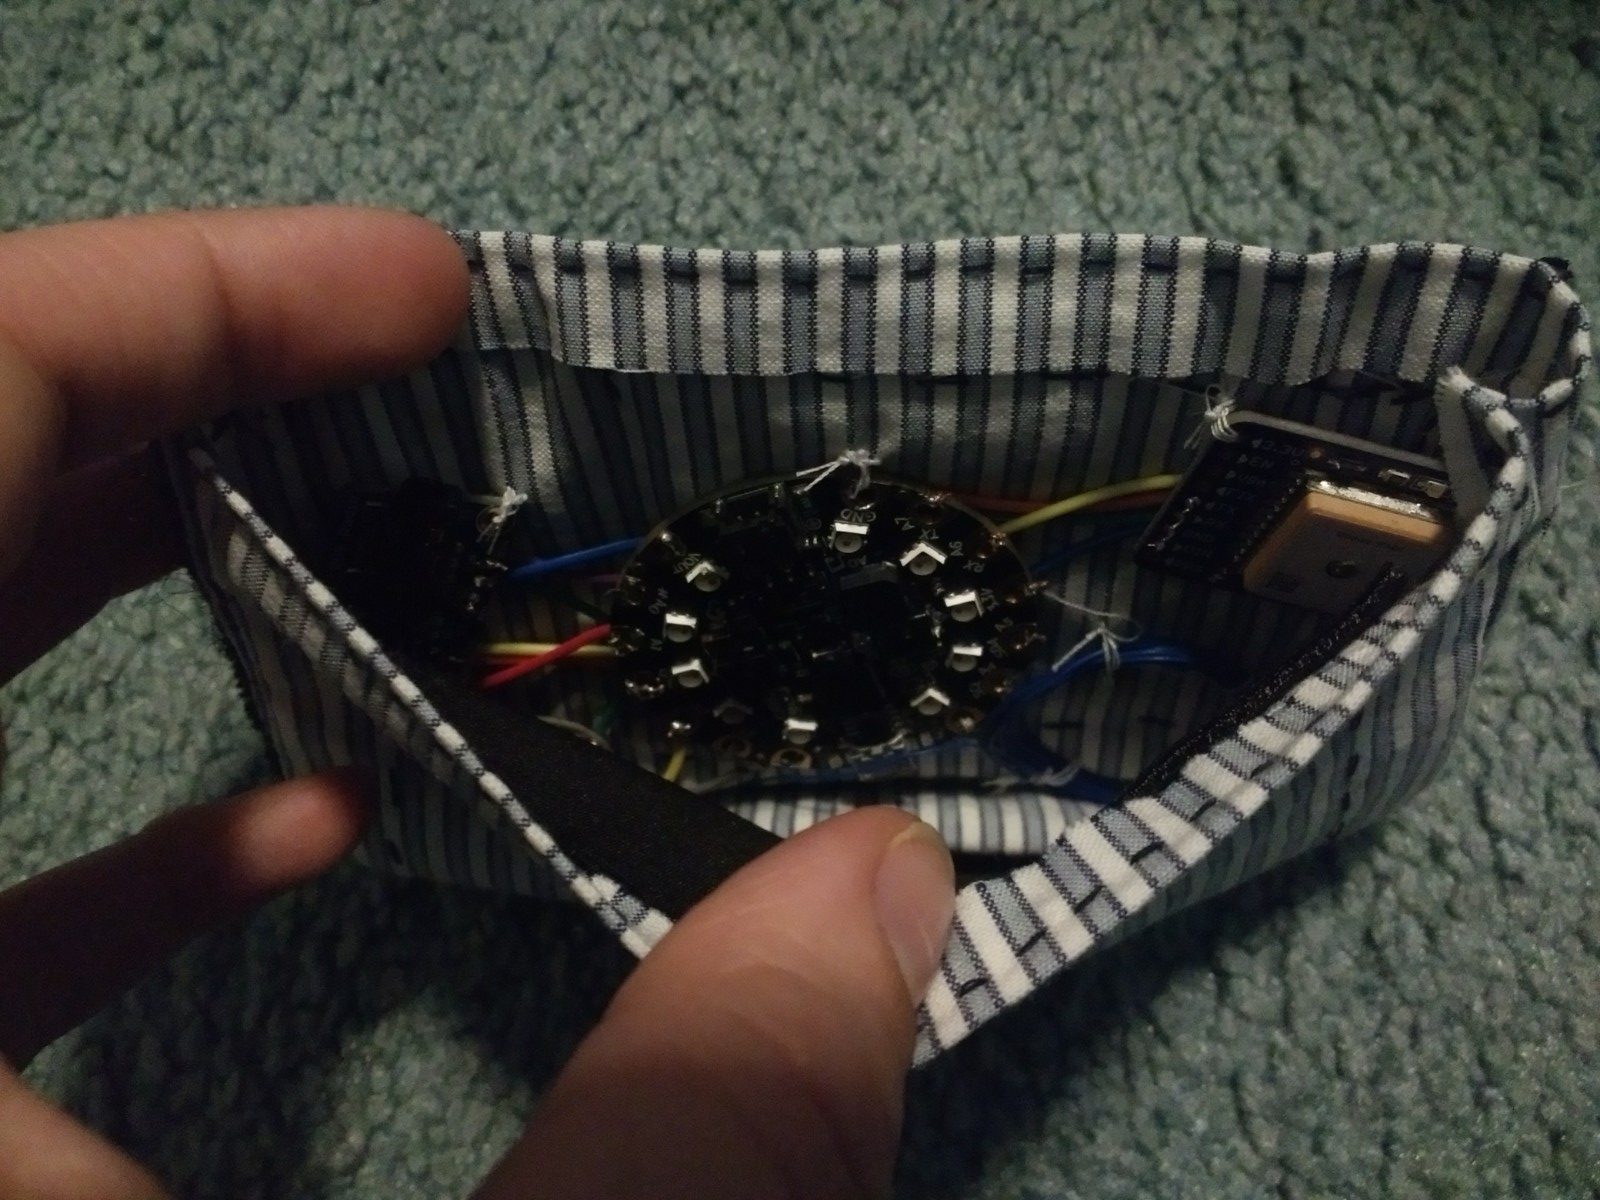
The biggest challenge I encountered towards the end of the project was getting all of my connections to stay connected. I found that the single core wire I used (kinda as a last resort) worked the best for not pulling out of the soldering. In the video above it is the white wire with the red stripe on the side, I ended up replacing the most challenging connections (which were 3-4 connections as shown in the video).
If I had more time:
There is actually quite a lot I would do if I had more time, the first being replacing all of the connections with single core wire connections. The second being instead of pushing a button, having a slide on the front of the patch that pushes the battery into the device (this would help the battery to only be used when needed – not powering the circuit playground all the time). The second change I would do is to fix the issue of the soft button being very sensitive (pressing when it is not supposed to). The third thing I would do is to find a way to say the emergency message more clearly over the radio. The fourth thing I would do is figure out how to transmit the radio waves farther without infringing on the law (this is actually the fix I would focus the most on, because it’s an operational fix, the others are mostly design fixes).
Final Material List:
- FM Stereo Radio Transmitter
- Price: $20
- Quantity: 1
- Link: https://www.amazon.com/Adafruit-Stereo-Transmitter-RBDS-Breakout/dp/B00SK8ME4Y#
- GPS Module
- Price: $40
- Quantity: 1
- Link: https://www.adafruit.com/product/746
- Vibration Module
- Price: $6.95
- Quantity: 1
- Link: https://www.sparkfun.com/products/11008?_ga=2.218497438.624035456.1554576553-2048369341.1554576553
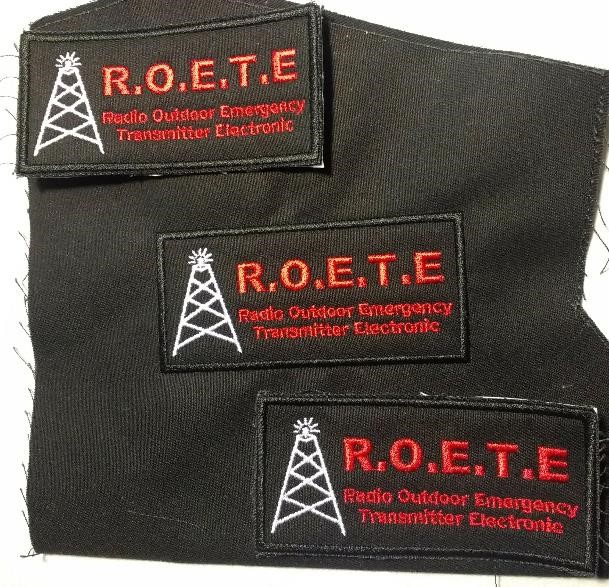
- Patch
- Price: $20
- Quantity: 1
- Link: http://eliteembroideryandscreenprinting.com/
- Transistor
- Price: $0.30
- Quantity: 1
- https://www.digikey.com/product-detail/en/on-semiconductor/PN2222ABU/PN2222AFS-ND/6534&?gclid=EAIaIQobChMIn9Kmo5G84QIV1LjACh2IEQZDEAQYAyABEgJoIfD_BwE